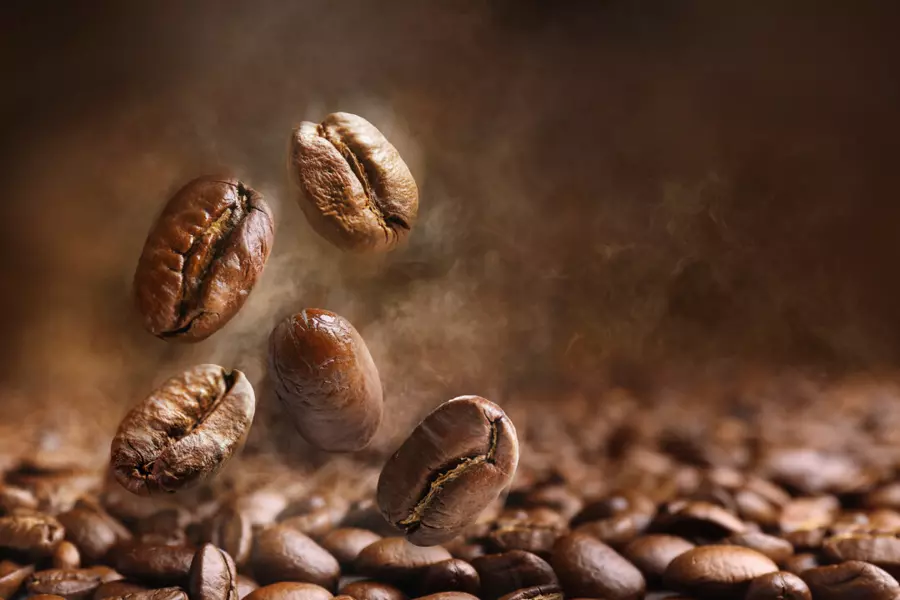
About a decade and a half ago, my interest in home coffee roasting was sparked by a conversation with a friend who had recently taken up the hobby. The main motivators were the superior taste and quality of freshly roasted beans, as well as the opportunity to significantly cut down on the cost of purchasing high-quality coffee, which could be reduced by at least half. This information was enough to pique my interest and turn me into an enthusiastic participant in this process.
Today, I’ll walk you through the entire procedure I followed to get started in home coffee roasting.
One of the first things you should consider when starting out with home coffee roasting is that it produces a significant amount of smoke. While some individuals prefer to roast indoors, I strongly discourage this practice as it will likely trigger your smoke alarms and fill your house with smoke. Moreover, due to the high temperatures involved in roasting, there’s a heightened risk of accidentally starting a fire.
Step 2: Switch on your air popper. Position the bowl in front of the machine, where the popped popcorn would typically come out, to collect the chaff that falls off the beans during the roasting process. The beans will start spinning around inside the machine and might appear as though they’re about to pop out like popcorn, but rest assured that this won’t happen. As the machine heats up further, you’ll notice the beans turning a shade of brown. Soon after, you’ll hear the beans starting to make a cracking sound. When you first hear this cracking noise, you’ve reached “city roast,” which is typically considered a light roast. The longer you let the beans continue roasting from this point onwards, the darker the roast will become. As the beans continue to roast, you’ll hear them popping and crackling for several seconds before the sound gradually diminishes. Once you begin hearing the beans sound more like Rice Krispies crackling in milk, you’ve reached “second crack,” indicating a dark roast or “full city” level. Throughout this process, you’ll notice the chaff flying off the beans either into the bowl or box provided, or simply floating away into the air. This is normal and serves as another reason to consider roasting outdoors.
Step 3: As soon as you’ve reached your desired roast level, turn off the air popper promptly and carefully pour the beans out of the popper into one of the colanders provided. Be cautious as both the beans and the popper will be extremely hot at this point.
Step 4: It’s crucial to cool the beans down quickly in order to stop the roasting process. To achieve this, pour the beans into one colander, shake them around, and then transfer them to a second colander. Continue tossing the beans between the two colanders until they are only slightly warm to the touch.
Step 5: Once the beans have reached a suitable temperature, place them in a container with an air-tight lid. However, do not seal the container at this time. Freshly roasted beans must be allowed to “de-gas” for at least two hours, up to overnight, before they can achieve their full coffee flavor. If you were to grind and brew these beans immediately after roasting them, you would be very disappointed with the results. The beans need to rest for a few hours, at minimum, in order to reach peak flavor when ground and brewed.
If you’re interested in resources for green coffee beans as well as an overview of my own coffee roasting journey (I have progressed through several levels of home roasting), I have compiled all of this information for you on the website EverydayCheapskate.com/roasting.

